Google Mail or GMail for short is one of the best and most secured free email servers in the world today. In order to create software applications that can access GMail, developers should keep in mind that Google authenticates each request first before they can access the mail functionalities of Google Mail API.
According to Using OAuth 2.0 to Access Google APIs https://developers.google.com/identity/protocols/oauth2:
Google APIs use the OAuth 2.0 protocol for authentication and authorization. Google supports common OAuth 2.0 scenarios such as those for web server, client-side, installed, and limited-input device applications.
To begin, obtain OAuth 2.0 client credentials from the Google API Console. Then your client application requests an access token from the Google Authorization Server, extracts a token from the response, and sends the token to the Google API that you want to access.
This post gives a step-by-step tutorial on how to setup a Google API application so it can later on be used by program you will develop. The final result is an OAuth Client ID credentials JSON file which is required for authenticating users of your program.
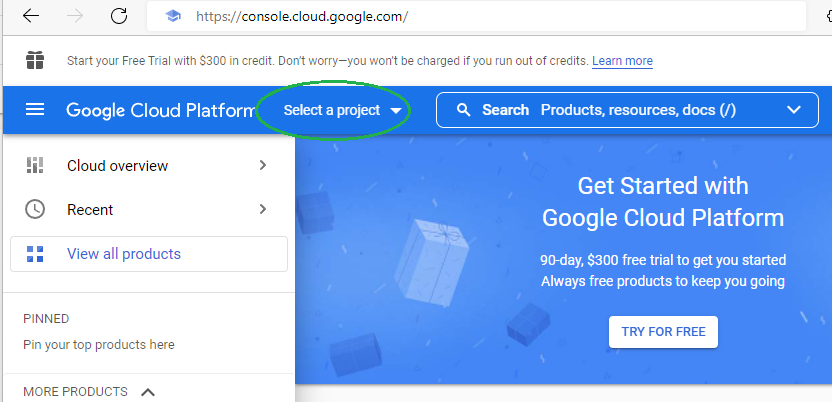
Step 1. Login to Console of Google Cloud Platform https://console.cloud.google.com/
Step 2. Select the project drop down at the top of the Google Cloud Console page, next to the “Google Cloud Platform” title.
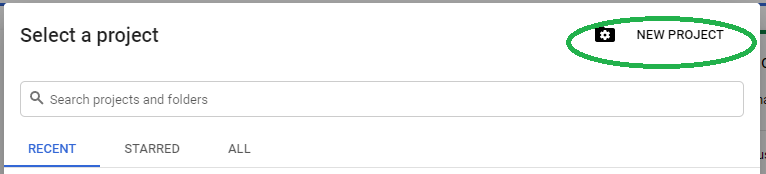
Step 3. Click on “NEW PROJECT”.
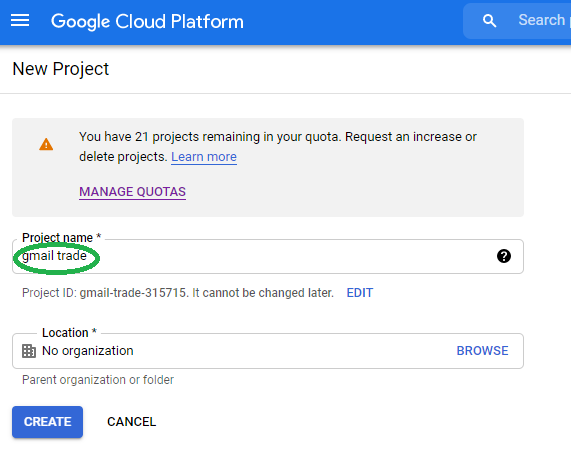
Step 4. Enter the project name in the text box.
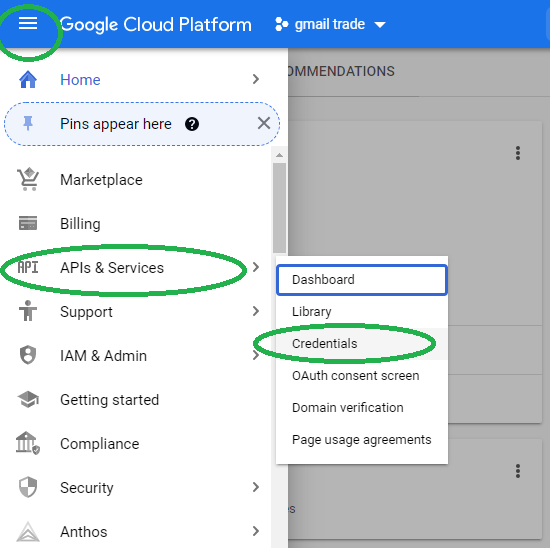
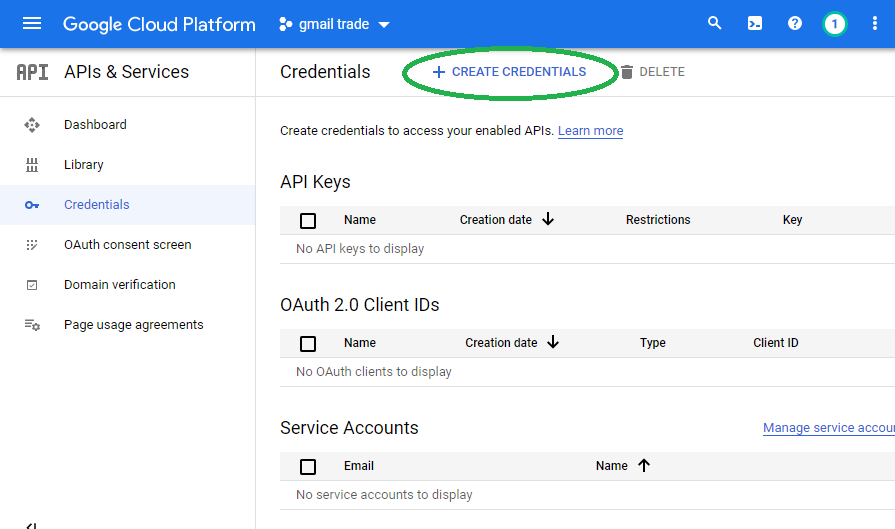
Step 5. Click on the Navigation menu. Select “APIs & Services“. Then “Credentials“.
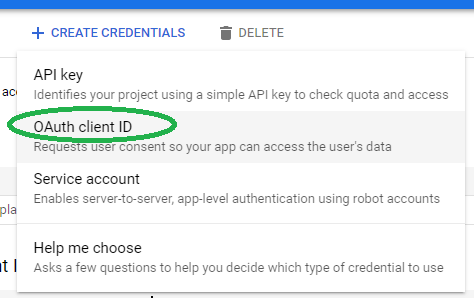
Step 6. Click “Create Credentials“
Step 7. Click on “Oauth client ID“
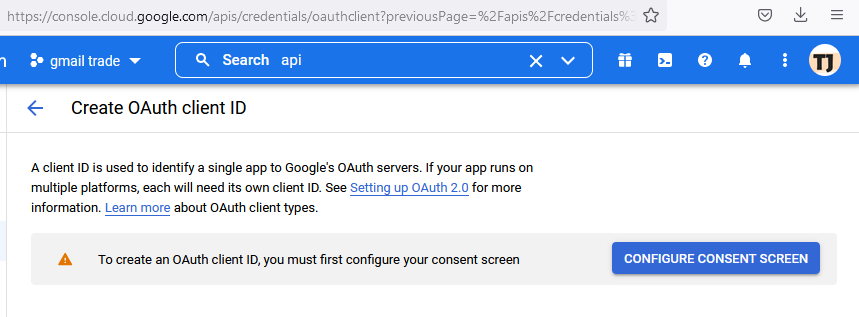
Step 8. Before you can actually create an OAuth client ID, you need to configure the OAuth consent screen. Click the “CONFIGURE CONSENT SCREEN” button.
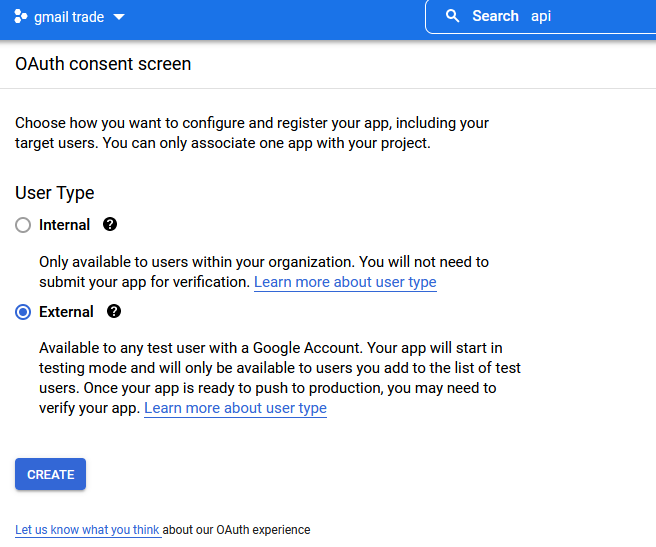
Step 9. The next step will ask how you would want to configure your app. Click “CREATE” button.
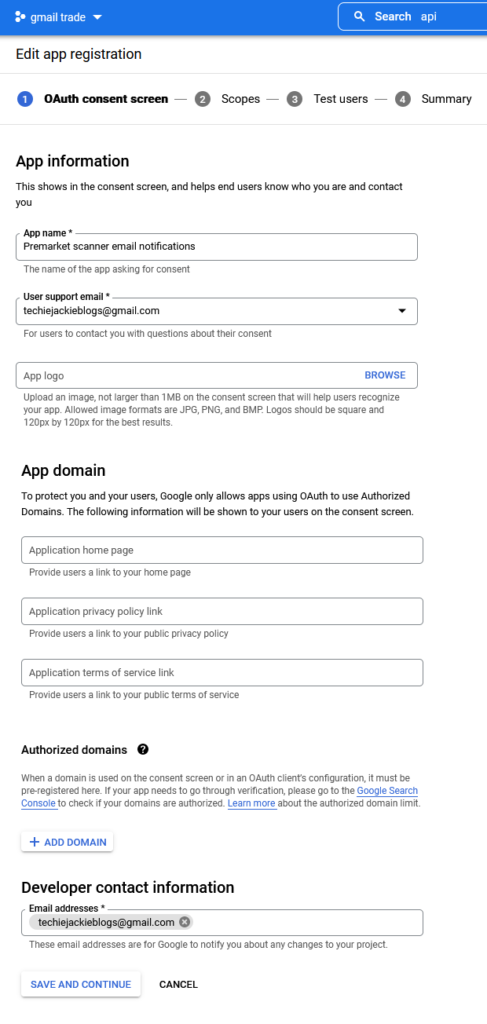
Step 10. Fill out all the necessary information about the application. Click “SAVE AND CONTINUE” button.
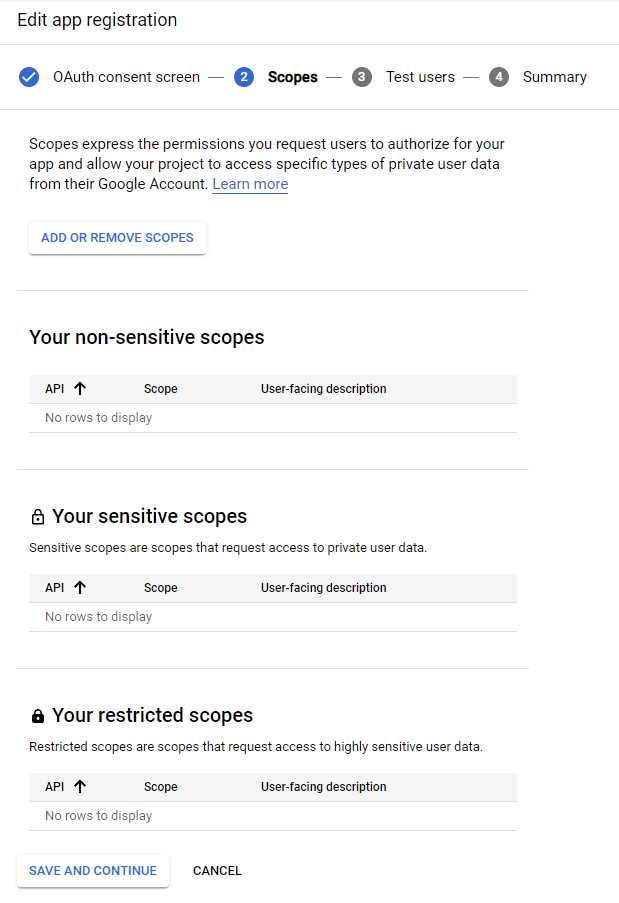
Step 11. Identify the scopes of your application. Click “SAVE AND CONTINUE” button.
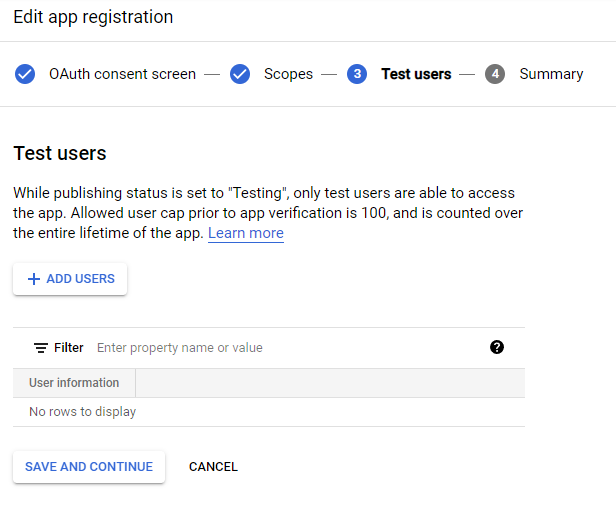
Step 12. List the email addresses of users allowed to test the application. Click “SAVE AND CONTINUE” button.
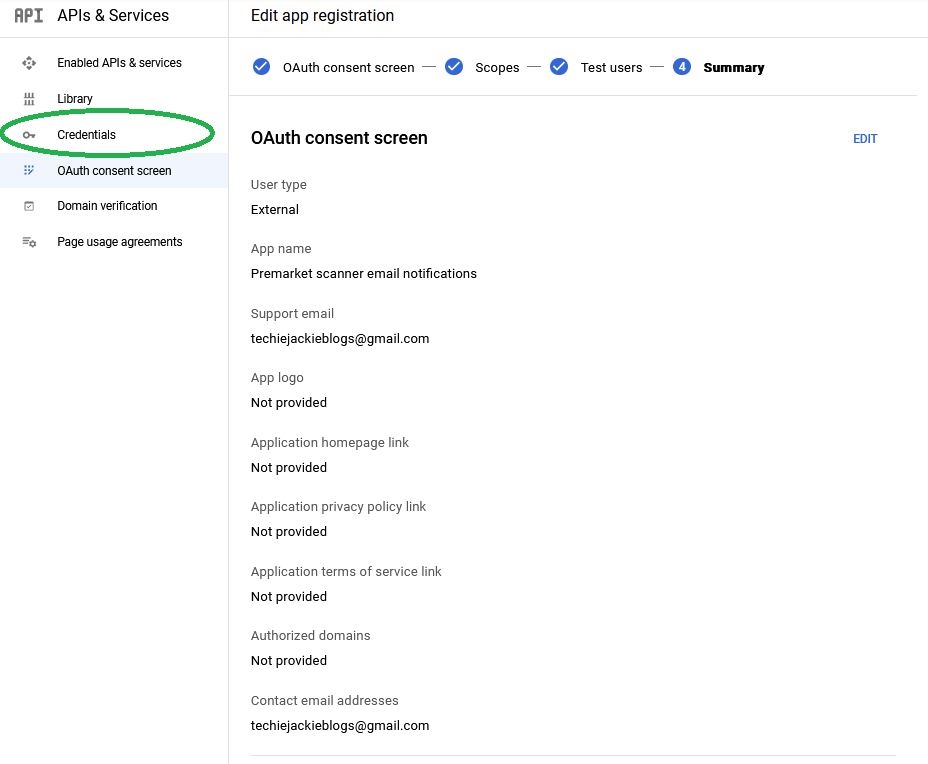
Step 13. The Summary of OAuth consent screen will be displayed. Click on the Credentials left panel.
Step 14. Click again on CREATE CREDENTIALS tab. Select OAuth client ID.
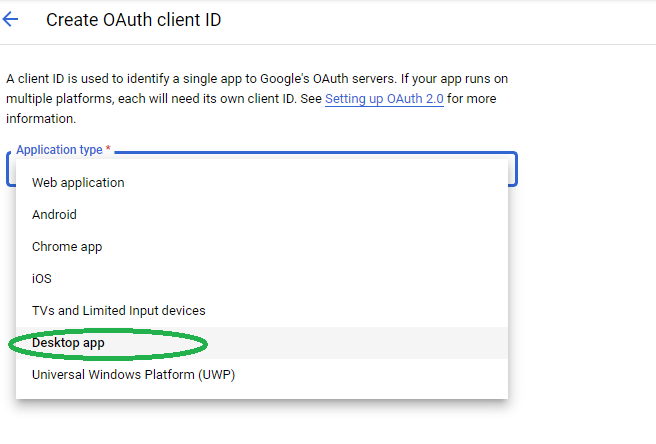
Step 15. In the Application type, select “Desktop app“. Click “Create” button.
Step 16. A confirmation screen will be displayed. Click the OK button.
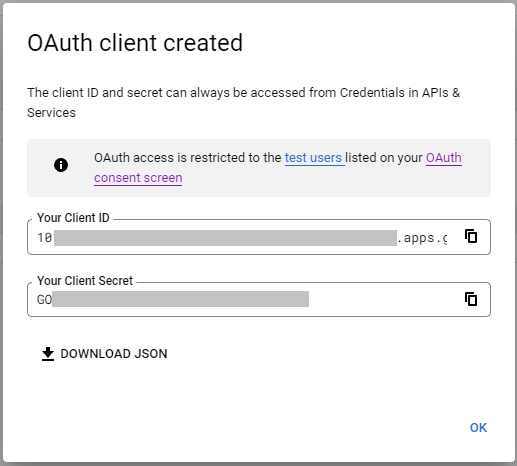
Step 17. Click on the down arrow icon as shown below. Download the JSON file for credentials and save in your local filesystem.