To create a Spring Boot Project using Eclipse, follow these 7 easy steps
Step 1. Install Spring Tools for Eclipse which can be downloaded from https://spring.io/tools
Step 2. Download and install Java SE Development Kit. This tutorial uses version 14 which can be downloaded here.
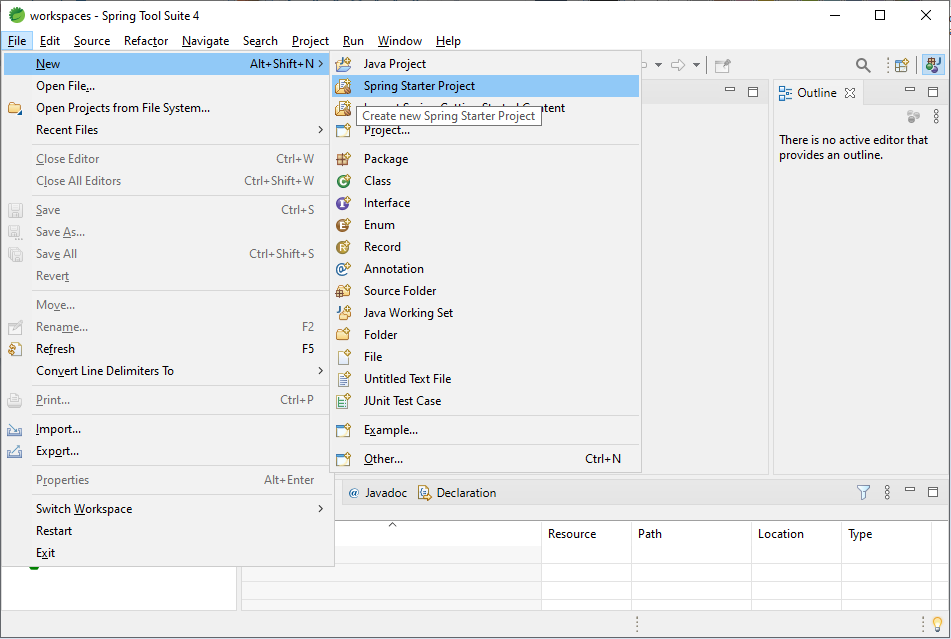
Step 3. From the File menu, select New -> Spring Starter Project
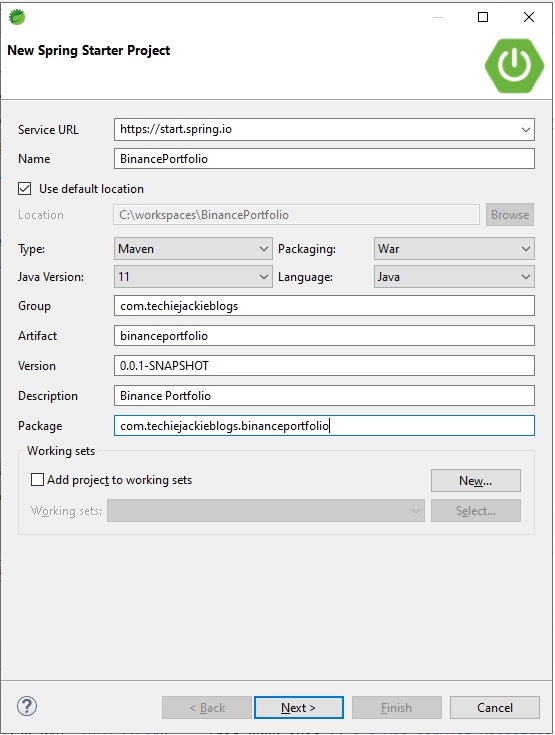
Step 4. Fill out the necessary fields. Make sure to select War as Packaging type. Click Next button.
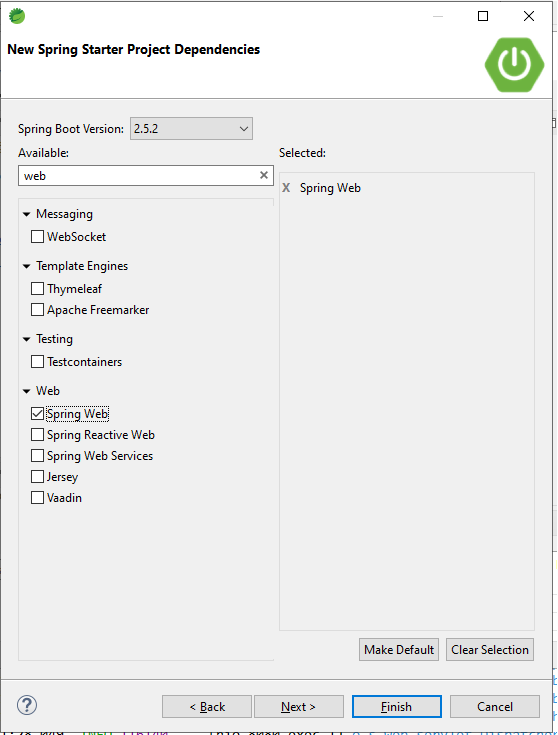
Step 5. In the Available list, type in web. Click the checkbox for Spring Web. Click Finish button.
The Package Explorer will display the files created for the project.

Step 6. Clean the project class and output files by selecting in Project menu –> Clean… Click Clean button. This will generate the target directory.
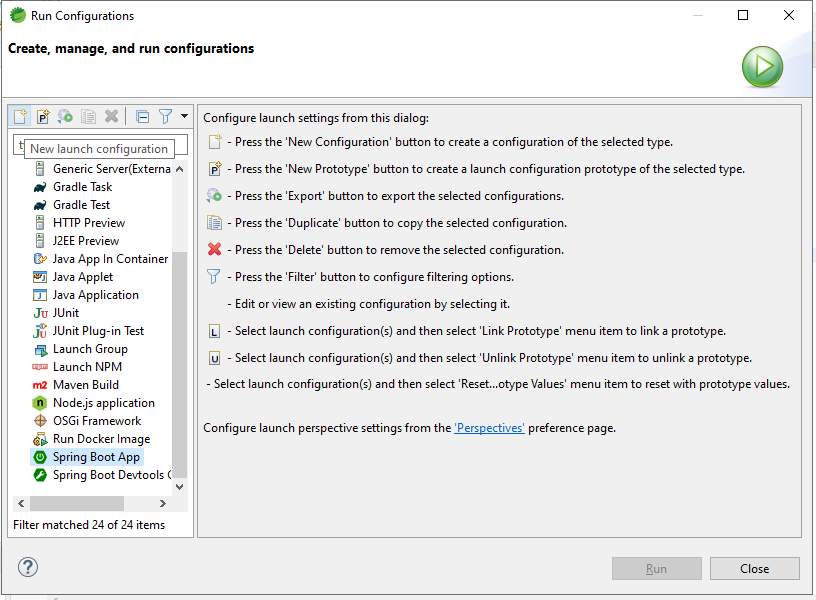
Step 7. From the Run menu –> Run Configurations… Search for Spring Boot App on the right panel. Click the New Launch Configuration on the icons panel.
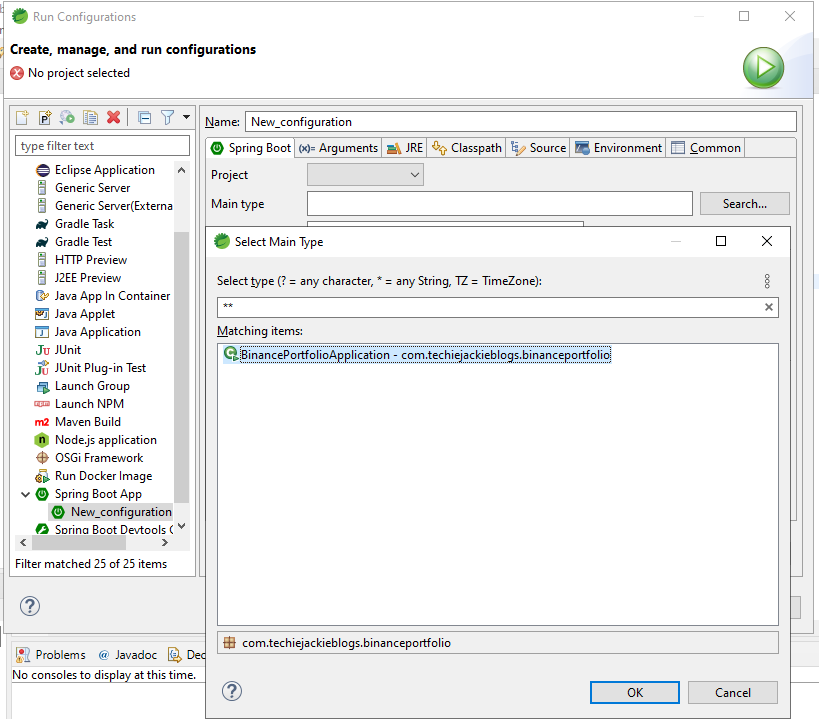
Step 8. For the Main Type, click the Search… button. Select the Spring Boot application from the list. Click Run button.
The Console should display logs that Tomcat server started and is using port 8080.

Viola! You may now start creating more sophisticated Spring Boot applications. Cheers!